First Order

As promised, I’m going to share my first wood burn order that I finished today! It’s for a friend from college to give as a wedding present to her best friend. The motif on the top is the same as what is found on their invitation–it was Erin’s idea to use it to make the piece more personal. It was a great idea and I’m so happy with how it turned out! 


I’m pretty positive this will be the only wood burn they receive and they’ll be able to hang it on their wall as a reminder of their special day for years to come! They’re lightweight and super unique, so if you or anyone you know is in the market for a personalized gift, check them out here: http://etsy.me/1KfmPYg

x B

Now on Etsy

I’ve finally had the time and created enough wood burns to list them on my Etsy! These make really fantastic gifts as they are completely customizable. Perfect for weddings, birthdays, birth announcements, nurseries, offices, basically whatever and wherever! I would be thrilled if you all checked it out: https://www.etsy.com/listing/233114113/custom-wood-burn

 
What to do:

1. Order

2. Include what you want written in “note to seller”

3. Wait 24-48 hours for a proof

4. Get your unique burn in the mail a few days later!


Thanks for following and hope you enjoy my newest wood burn! There will certainly be more to come. 

x B

Attempt #2

For my second wood burn, I tried out my other pen which has a much larger tip. I quickly realized that it burns much smoother and is easier to handle, but it pretty impossible to use on small details. 

  
Luckily, I was able to use this pen for about 90% of the burn and use the detailing pen for the rest. I decided to make a gift for my cousin’s wife’s baby shower in a few months. They’re having a little boy!

  
Just transferring the image onto the wood is a process and definitely my least favorite part thus far when it comes to wood burning. But once it’s on, I can picture the end result and get excited to start burning. 

  
It didn’t take long for me to notice the difference between pens. This one creates much smoother lines and requires a lot less pressure…my hand thanked me!

  
It’s a little tricky to fill in with this pen, but I made it work. 

  
I got a bit further than this before I had to switch pens, but here’s the final result…

  
It’s not perfect, but I’m happy with how it turned out! Next time I’ll make the words bigger so it’s easier to burn, but I think it will be perfect in his nursery! What do you all think?

X B

Attempt #1

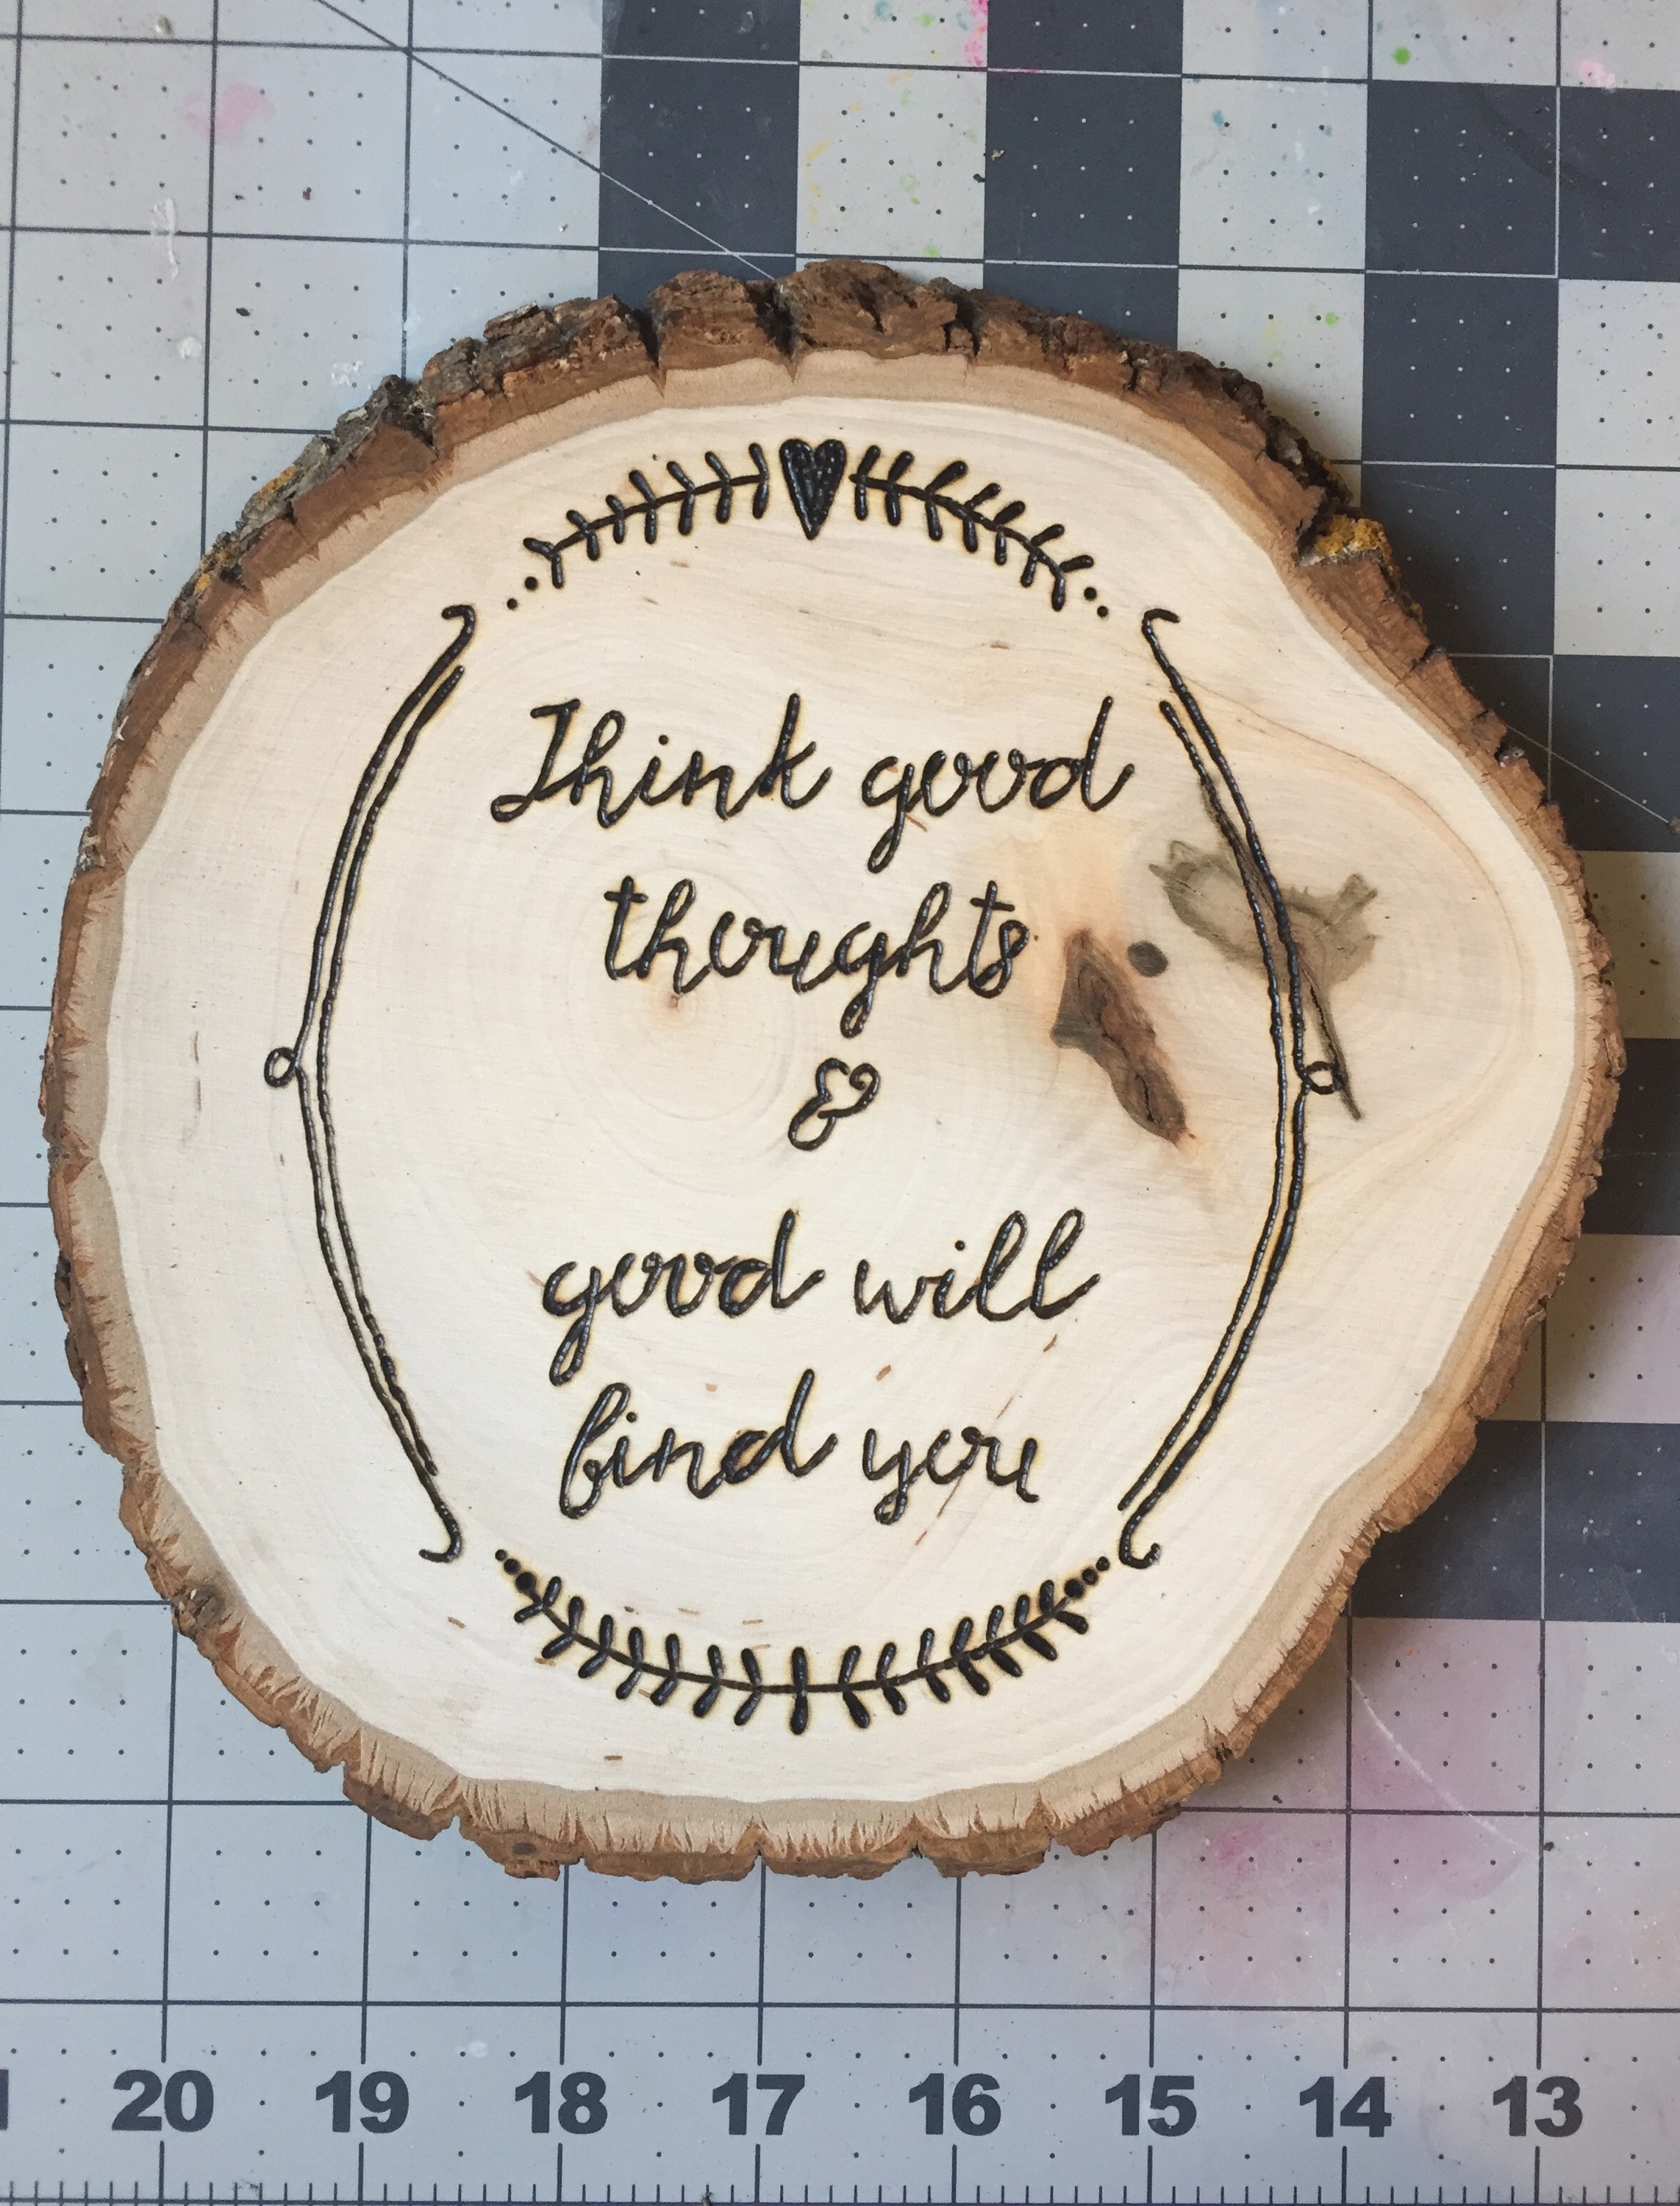
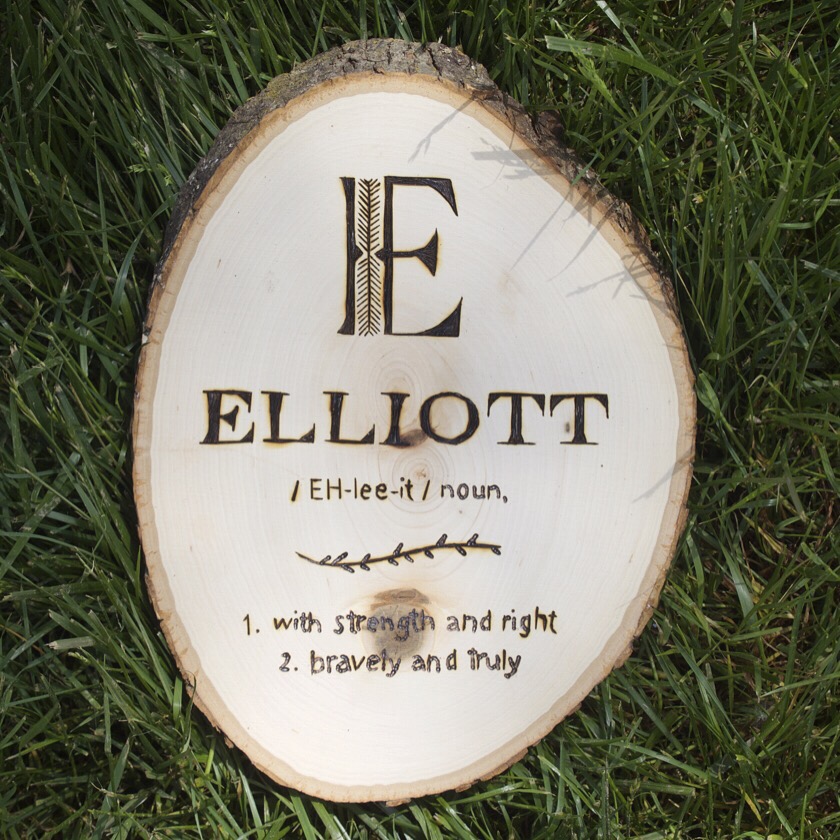
Great news! For anyone who may have been concerned, I did not burn my apartment down and completed my first wood burn! As promised, I want to let you guys know how everything turned out. 

I excitedly tore open the package when it arrived and found six perfect little basswood rounds. They’re soft and light weight, so they’ll be easy to hang which is great. I printed my first design and figured out how to use graphite transfer paper for the first time.

 
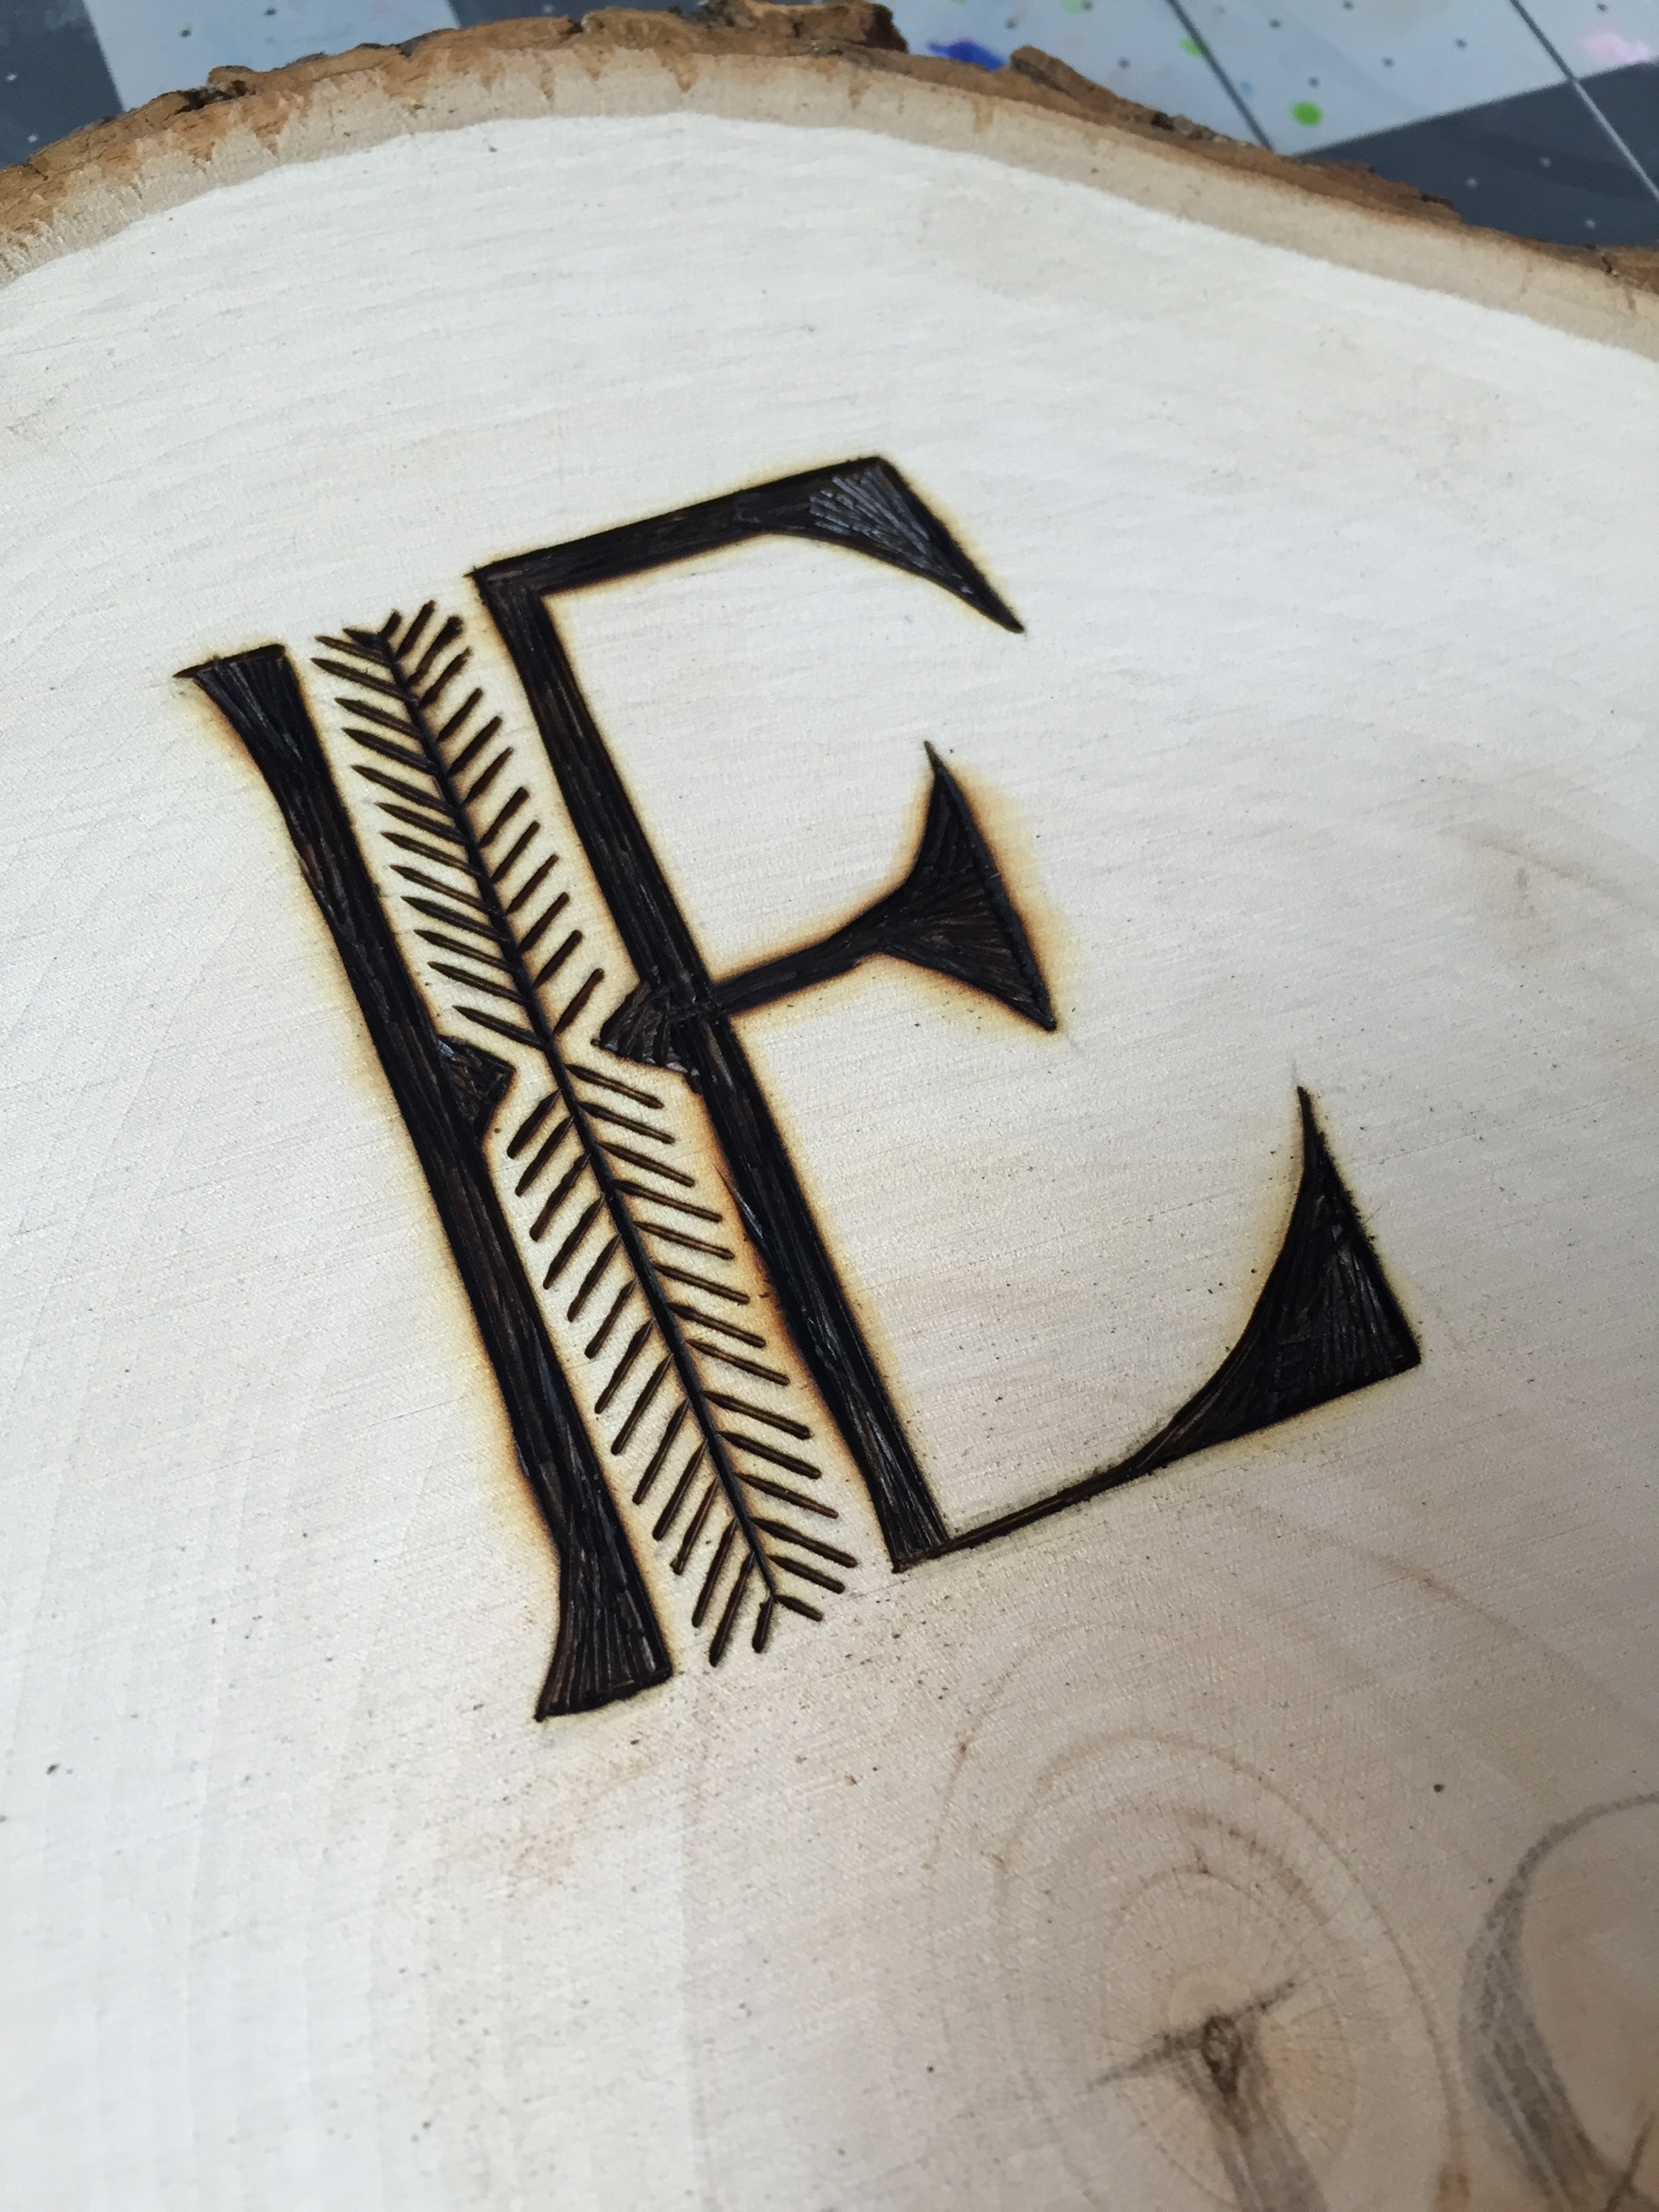
I traced over my design (which will be a wedding gift for friends) and started heating up the wood burning pen. I ordered two–one larger tipped one and the other is a detailer. I decided to use the detailer because all my lines were very thin. 

 
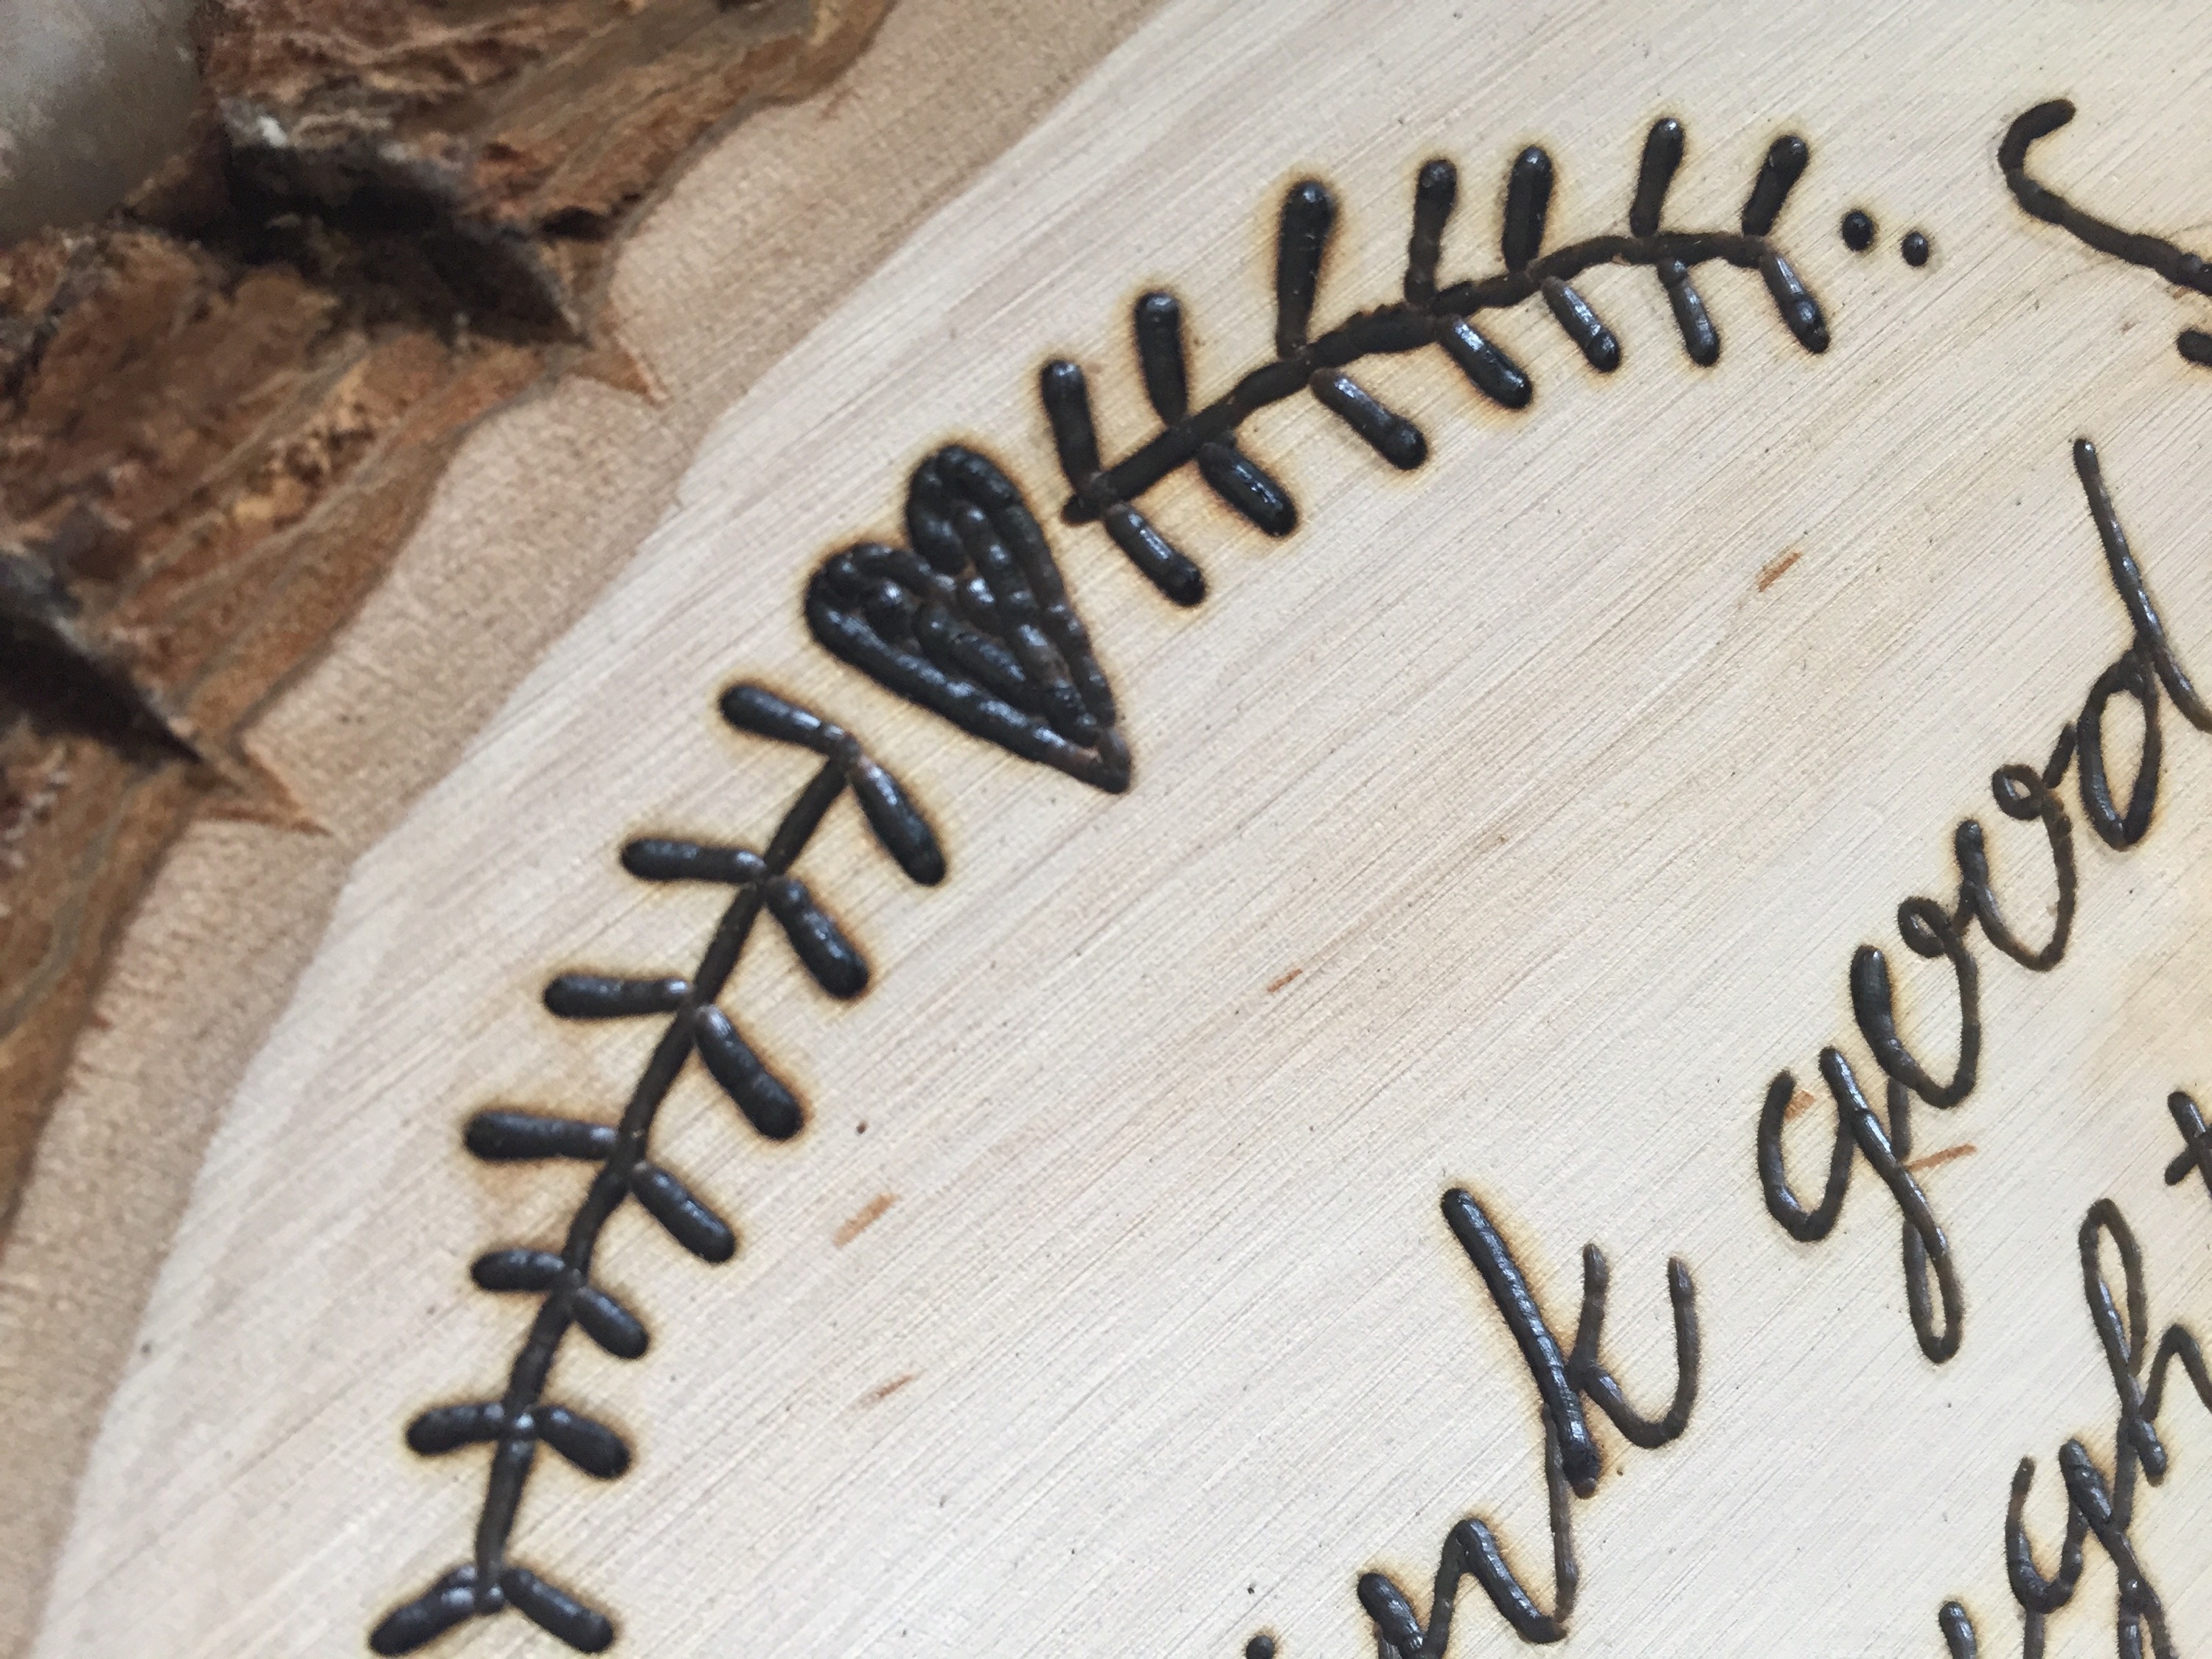
The first few minutes were pretty rough, I won’t lie. Although the wood is soft, it’s extremely difficult to burn in an even, smooth line. Basically I was making little holes all over and desperately trying to connect them. As you can see, you have to hold very high up on the pen to avoid the silver part that heats up. It’s uncomfortable and I found it hard to steady my hand. After some time though I slowly got the hang of it and powered through. After about an hour and a half, I was done! My hand hurt from the pressure of pushing down, but I was proud of what I created. 


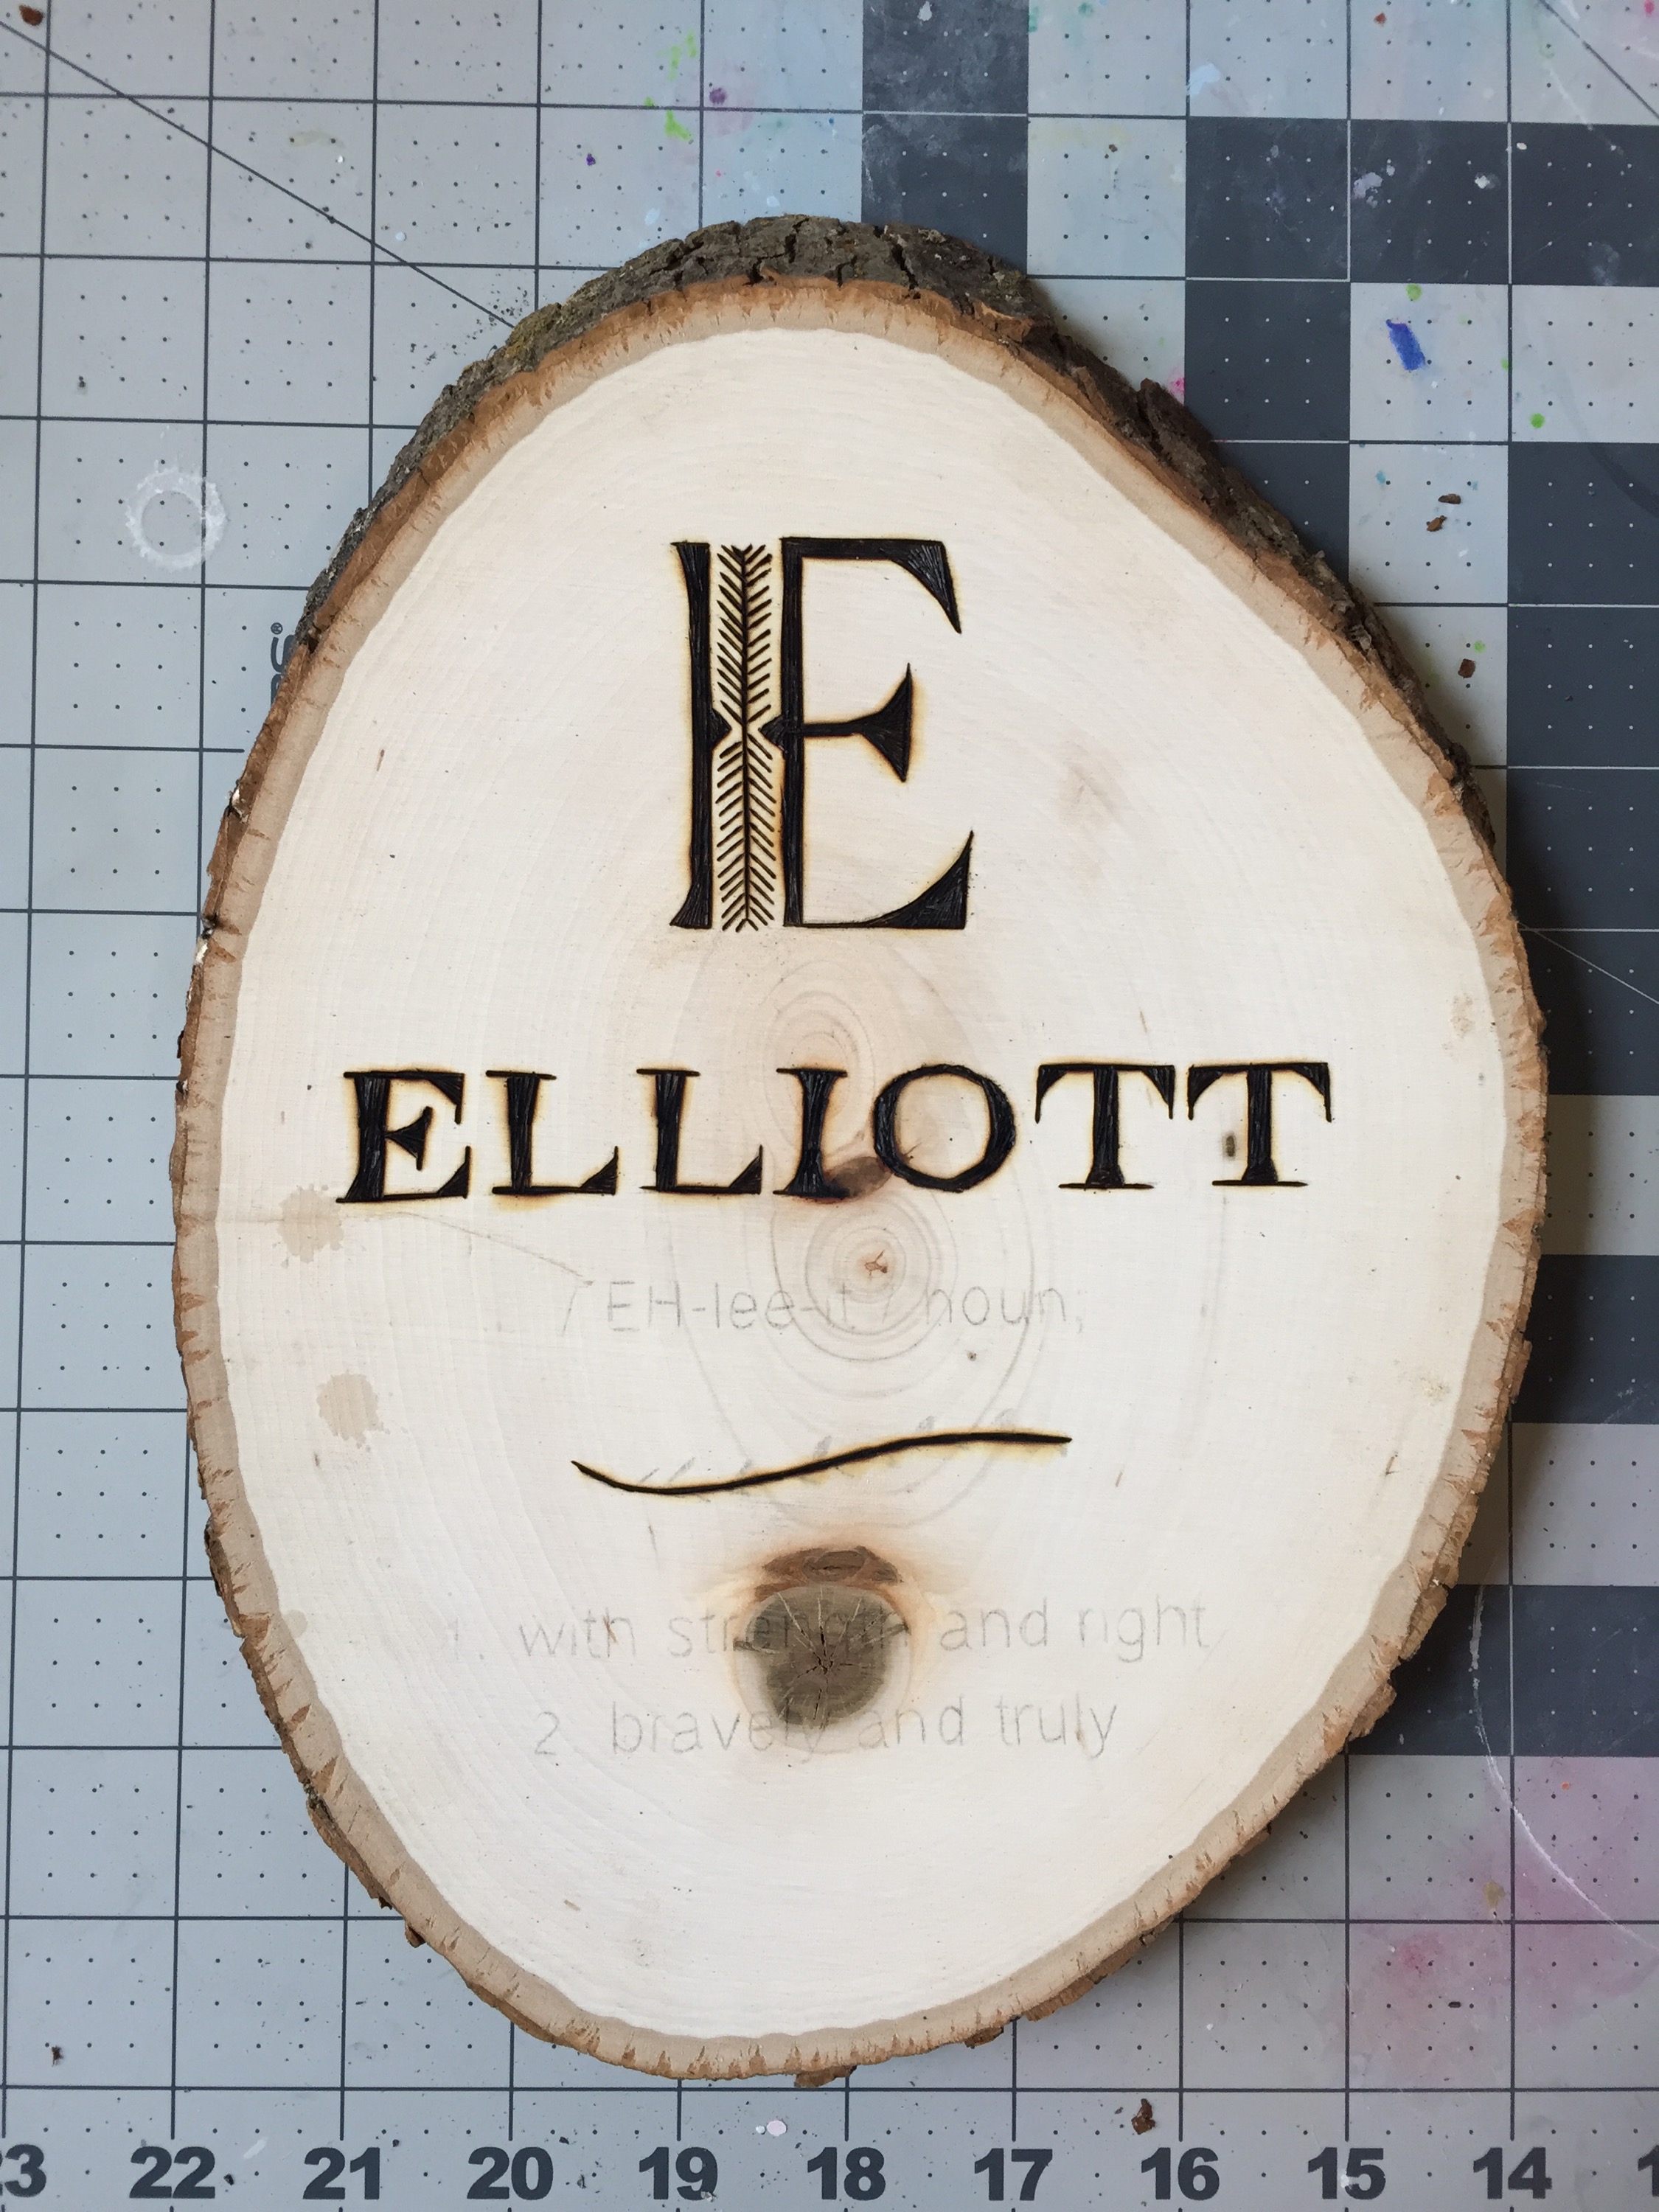
As you can see, I had to add an extra N to Jenn…whoops! Good thing it was an easy fix. Although it’s not perfect, it wasn’t a total disaster either. I have some more designs I will be trying out soon, so I’ll update with those later. Hopefully each time it do it it will get better and better!

Any pyrographers out there? I’ll take any and all tips!

x B

I’m Yelling Timber

Today, it’s going down. About a week or so ago I decided I wanted to try my hands at pyrography. If you’re wondering what the heck pyrography is, it’s wood burning. I got my first wood burning kit when I was about 15 as a Christmas gift, but never kept up with it and haven’t done it in the 10 years since. For those of you in the area, you might have heard of Belovely. They’re an amazing floral and wedding design company out of Ambler, PA who do fabulous crafts on the regular. One of those crafts are their beautiful wood burned signs for any and all occasions.
Screen Shot 2015-05-20 at 8.34.22 AM

This is just one of their many custom signs…incredible, right?

I was inspired.  I thought, I can do that!  So, I ordered new burning pens that came in 4 days ago and have been teasing me on my kitchen table since.  You can’t just use any wood for wood burning–pine or basswood work best.  I had to order some rounds since I have no way of getting cut wood and they’re currently out for delivery!  Which means that either later on today or tomorrow I will have my first attempt at a custom wood burned sign.  I have 3 designs I’ve already created and am so excited to see how it all turns out.

If I don’t burn my apartment down, I’ll be posting the results within the next few days, so stay posted!

x B