Will You Be My…

I’ve decided to put my loves of calligraphy and greeting cards together and create a new line! Will You Be My cards for brides to turn around and pop the question to all their favorite people are popular and fun, so I thought, why not? I’ve made five cards total (bridesmaid, maid of honor, matron of honor, flower girl, and ring bearer) on three different colored watercolor backgrounds. I’m really excited with how they turned out and all are now available in my shop


All cards come with white envelopes and wrapped in cellophane, so they’re perfectly preserved and ready to ship or hand out! Be sure to check them out and let me know what you think!

x B 

Overdue

I’ve been MIA for a bit now and I apologize. I went on an amazing (too short) vacation to Myrtle Beach a few weeks back and haven’t been in a writing mood since I’ve been home. 

First, I’ll start with a brief hair update. I’m still using the “no poo” method and gotten through the worst of it. For a good two weeks, I found my hair to be very greasy and terribly textured. However, besides noticing a bit of dryness, I’m really happy with how my hair is now. There’s considerably less dandruff and scalp itch and it’s very smooth. Also, what has surprised me the most so far, is how the texture of my hair has changed. When I used to air dry it, it was very frizzy and wavy. The waves are still there, but much less. I’m loving that it’s a bit straighter and definitely loving that it’s not nearly as frizzy. Going to keep up with it for sure!

As far as art goes, my newest adventure is calligraphy! I’ve just started within the past week or so, but am absolutely loving it. It comes relatively easy for me (not saying it’s perfect, I’ve still got a lot to learn) which is nice and helps keep me wanting to do more. I’ve been using an oblique dip pen and a few different color inks. Here are a few things I’ve created:


This style is what I’d call “modern calligraphy” — there aren’t many flourishes. Eventually I’d love to create place cards and offer envelope addressing, so I’ll keep practicing!

x B

Table Names

One of my best friend’s is getting married in January. Something you should probably know about me is that I love weddings. Every little thing about them. Seriously. I planned my wedding (September 15, 2013) over the course of our year and a half long engagement and handmade a lot of the decor.  It was a fabulous experience and I really enjoyed every phase of the planning.

 My mom helping me get ready.

  First look!

     I went with mix and match dresses for my girls and kept it casual for the guys.

 I got these old windows from eBay and turned them into the seating chart with a wood paint marker.

 Our “theme” if you will, was burlap and lace. My mom made all the table runners and silverware pockets and I added the tags.

       I made this cake table banner from burlap, lace, twine, and paint.

    I also made this head table banner to dress it up a bit.

       I crafted all the table numbers from cork board covered in burlap and then used pins and thread to create the number.

  Our favors were homemade whoopie pies and sugar cookies, adorned with tags.

I dressed up a plain wood box from Michael’s to use as our card box.

Our lovely photographer, Colleen Stepanian, took our engagement photos as well, so we displayed them along with this chalkboard sign I made.

After spending so much time creating things for my wedding, I was a little (okay, maybe a little more than a little) sad to see that my wedding had come to an end. Recently I’ve had the opportunity to be more involved with the crafting and hand lettering for other brides’ big days and I couldn’t be happier about it!

Today I sat down and created all the table names for the upcoming wedding. It’s a winter theme and all the signs will be put into white frames which will make them look even better! 

I’m very happy with how they turned out and hopefully she, along with all the guests, will too! I hand lettered all of them and drew the little images on each one with pencil and then went over them with a DecoColor white wood paint pen. I haven’t found a chalkboard marker I like, but this wood paint pen is amazing. It comes out so opaque and is easy to handle.

Closer to the wedding I’ll be hand lettering all the place cards and creating a large chalkboard sign to display outside of the ceremony space, so I’ll post those when they’re done. I’m thrilled I get to do this for my friend and hope I get more opportunities to be involved with wedding details in the future!

x B

First Night

As you know from my last post, yesterday was my first day not using shampoo or conditioner. I wasn’t really expecting too much on the first day, but there were a few things I surprisingly noticed right away. 

After showering:

  • My hair wasn’t tangled at all. Since my hair is so thick, I find that it gets tangled very easily. Eliminating conditioner is a scary thought for me because I assumed it would be a tangled mess, but that wasn’t the case. It was easy to comb through and nice and soft. 
  • Less itch. My scalp was considerably less itchy because the baking soda exfoliates the scalp. 
  • No smell. I was a bit uneasy at the thought that my hair might smell light apple cider vinegar, but after I rinsed it out, the smell went right with it. 
  • Way less frizz. When I get out of the shower normally, I put in a generous amount of anti-frizz cream, but last night I skipped it. My hair dries really slowly, but it usually starts frizzing right away. I was really surprised to find that although there was still frizz, it was much less. I even slept on it while it was damp and when I woke, instead of the usual crazy fro, it was noticeably more straight.   

Day after:

  • My hair looks and feels very clean. The texture isn’t different than it normally is, aside from feeling slightly smoother. 
  • Less scalp dryness and dandruff.   

In a few days I’m sure I’ll hit the transition period, but for now I’m very happy with the results!

x B

No Poo Experiment

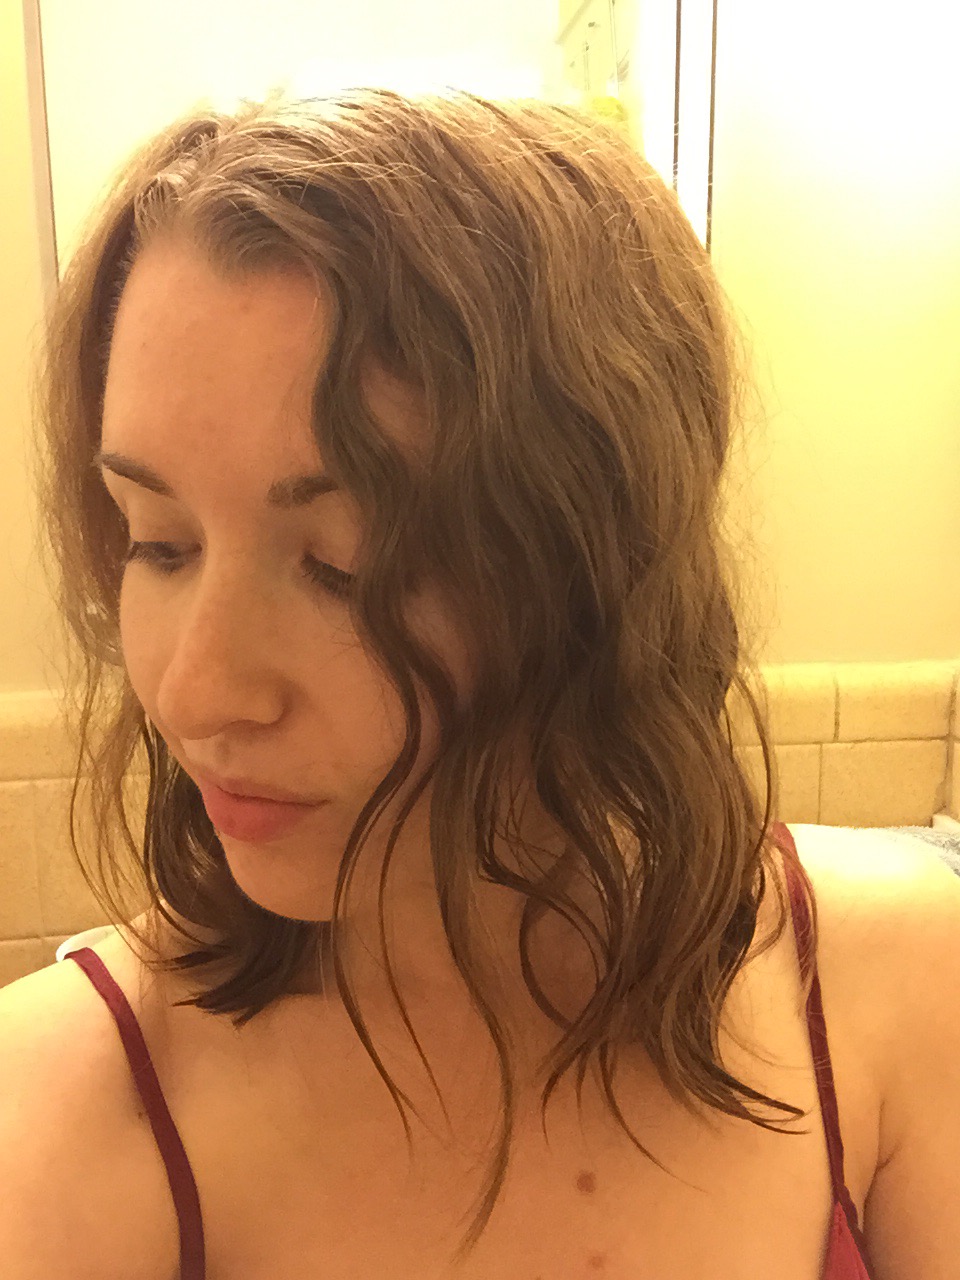
Alright, so I first read about the “no poo” craze at least a year ago.  It peaked my interest but basically went against everything that I was taught about washing your hair.  My hair is very thick and naturally wavy, but is frizzy and isn’t smooth in the slightest.  It’s great in that I can literally do anything with it–straighten it, curl it…anything will stay.  The (huge) downside to it however, is that I have to style it for it to look even remotely “normal.”  The longer it gets, the easier it’s becoming for me to just lightly blow dry it and walk out the door, but if it’s not styled I usually just throw it up in a bun.

If you haven’t heard of no poo before, I’ll briefly explain what it is.  Basically, it’s exactly what it sounds like: not using any shampoo or conditioner.  Taking their place is baking soda and apple cider vinegar.  The baking soda becomes the cleaning agent and the vinegar acts as the conditioning agent and, from all the articles and blogs I’ve read, this duo leaves your hair soft, shiny and most importantly, clean.

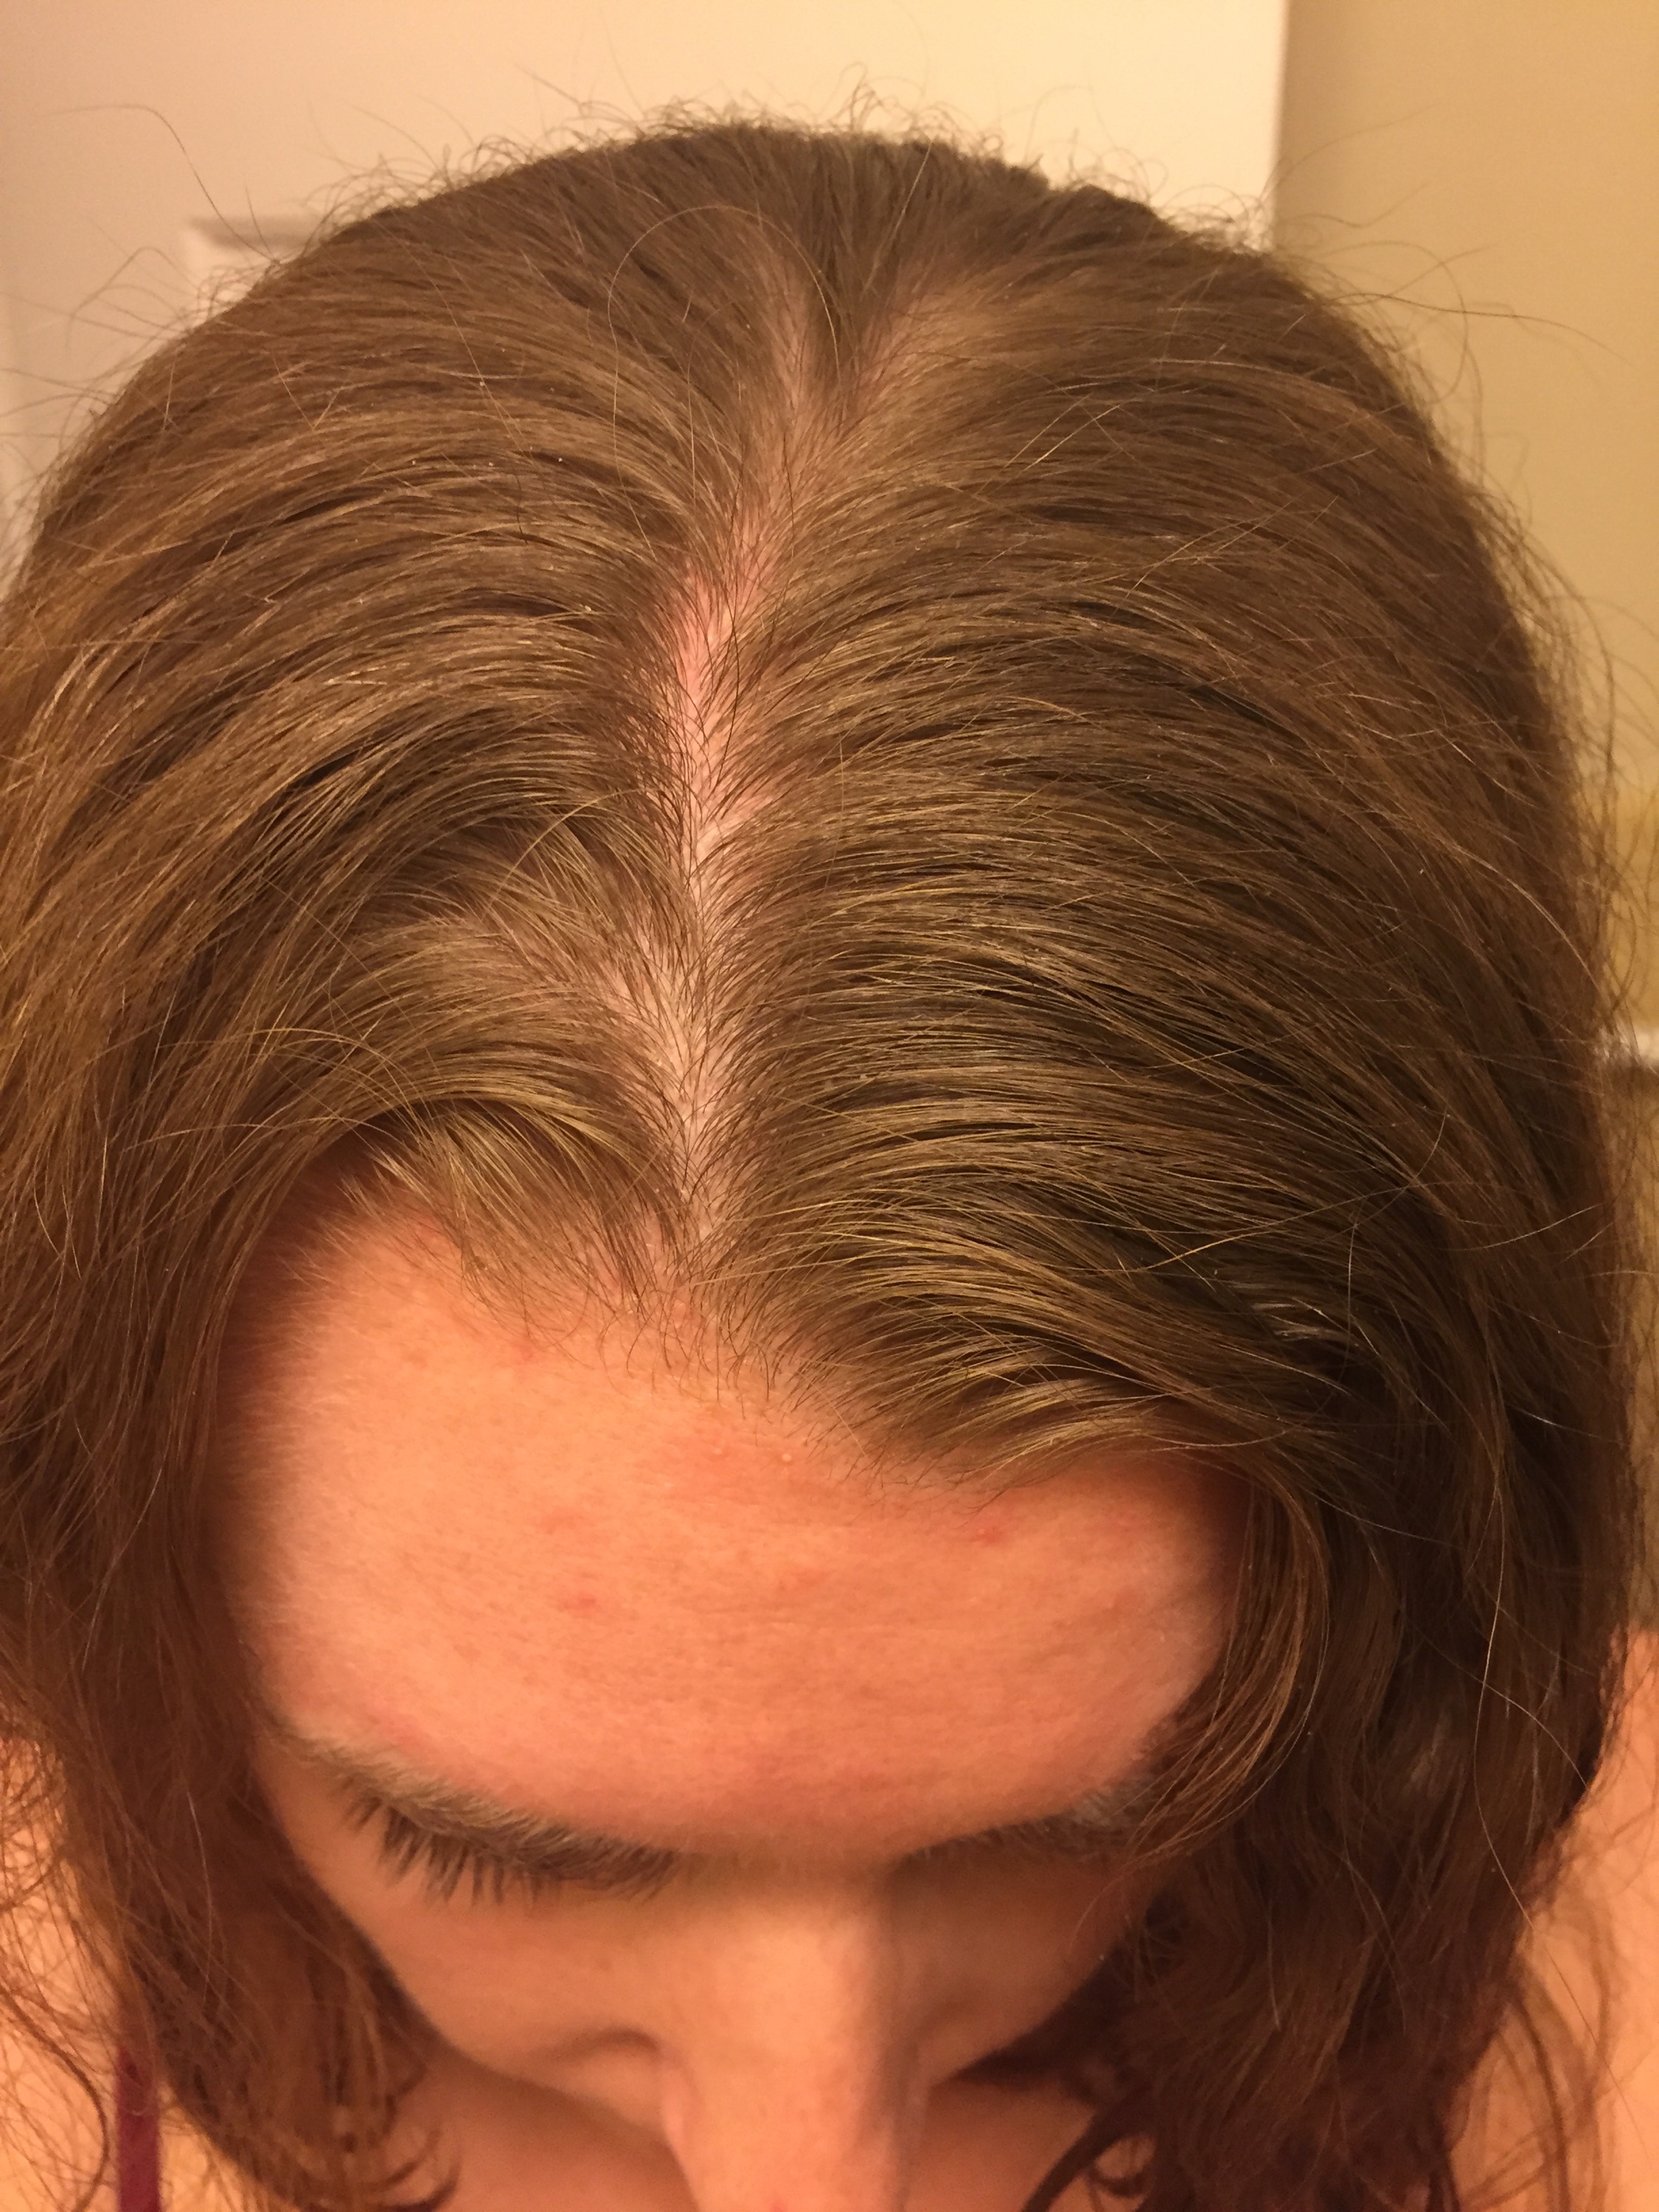
Recently I’ve noticed that my scalp as been super dry and itchy.  It’s embarrassing when you have to constantly scratch your head, and because of the dryness, I’ve had a large amount of dandruff.  I thought for a while that it was because I prefer showering in really hot water, but changing the temperature had no effect.  I also lose a ton of hair every day.  Like more than normal (at least, I’d imagine).  Because my hair is so thick though, I’ve never noticed it thinning thankfully.  The no poo process also helps with making your hair stronger and ultimately lessening dead hairs.

So this leads me to finally giving this a shot.  One of the biggest reasons it took me so long to try is because of what’s called the “transition period.”  The first few times washing your hair with the baking soda and vinegar mixtures (directions below) should leave your hair feeling soft and great.  But soon enough your hair will have to start producing it’s own oils, since shampoo strips your scalp of all natural oils (!) and then your scalp tries to compensate the oil loss and the result is super greasy hair within one to two days of not washing.  Once your hair figures out it’ll have to produce and maintain it’s oils, it apparently goes a little crazy.  Since it’s just learning how to maintain it’s oil, it will produce too much in the beginning, which is why at the start of the no poo process you need to wash your hair every 2-3 days.  Eventually you’ll be able to go much longer without your hair overcompensating oils.

I’m nervous about this transition period because I don’t know what to expect.  My hair may become very greasy, frizzy, who knows.  But from everything I’ve read, if you stick this period out (which can range from a few days to a few weeks), you won’t regret the results.

Some of the things I’ve been promised:

1.  Less frizz and flyaways

2.  Quick hair growth

3.  Saving time by only washing my hair 1-2 times per week

Tonight was my first night and I’m anxious to see how it goes.

Here are a few things I’m hoping to get out of this experiment:

1.  Less dandruff and scalp dryness/itch

2.  Smoother hair

3.  More natural curl

4.  Less frizz

I will be sure to keep you updated as the days go on and try to post progress photos!

Directions:

Baking soda wash: Add one to two tablespoons of baking soda per one cup of water into a bottle.  Shake well and use enough in the shower to completely saturate only the roots.  You’ll want to keep the mixture in your hair until it becomes what I’ve read as “slippery”.  Then you can thoroughly rinse.

Vinegar rinse: Add two tablespoons of vinegar (I used apple cider vinegar) per one cup of water into a spray bottle.  Apply it all over your hair (not just to roots like with the baking soda wash) and really cover the ends.  Leave it in your hair until the end of your shower and then thoroughly rinse.

Here’s to no poo!  Have any of you tried this?  If so, let me know what you think!

x B

First Order

As promised, I’m going to share my first wood burn order that I finished today! It’s for a friend from college to give as a wedding present to her best friend. The motif on the top is the same as what is found on their invitation–it was Erin’s idea to use it to make the piece more personal. It was a great idea and I’m so happy with how it turned out! 


I’m pretty positive this will be the only wood burn they receive and they’ll be able to hang it on their wall as a reminder of their special day for years to come! They’re lightweight and super unique, so if you or anyone you know is in the market for a personalized gift, check them out here: http://etsy.me/1KfmPYg

x B

Hakuna Matata

This past weekend was busy with old friends, beer, and way too much food. Some of our college friends we hadn’t seen in over a year made a trip out to visit for the Great Beer Expo in Philadelphia! It was my first beer fest and did not disappoint. There was an abundance of sun, food, people, and of course, beer. 


I tried a bunch of great beers and ciders, and it was so great catching up with everyone. 

On a different note, last night I went to my first Broadway show! We saw the Lion King, which is very fitting considering it’s my favorite Disney movie. Although we had terrible seats, (no really, basically the worst you could get. Third balcony, on the side, couldn’t even see the whole stage…) I had a great time. The singing was phenomenal and the costumes were amazing! 


I also received my first commissioned wood burn that I’ve been working on today! Once it’s finished I’ll be sure to show you all. 

x B 

Now on Etsy

I’ve finally had the time and created enough wood burns to list them on my Etsy! These make really fantastic gifts as they are completely customizable. Perfect for weddings, birthdays, birth announcements, nurseries, offices, basically whatever and wherever! I would be thrilled if you all checked it out: https://www.etsy.com/listing/233114113/custom-wood-burn

 
What to do:

1. Order

2. Include what you want written in “note to seller”

3. Wait 24-48 hours for a proof

4. Get your unique burn in the mail a few days later!


Thanks for following and hope you enjoy my newest wood burn! There will certainly be more to come. 

x B

Bead There Strung That

I’ve been working on creating some new jewelry pieces for my Etsy and decided to whip out the polymer clay. I love the amount of options I have when making clay beads–any shape, size, and color I can think up can be created. I’m sure I’ll make more in the coming weeks, but here are a few of the beads I’ve made so far!


Once I get my butt into gear I’ll post them to my shop!

x B

Attempt #2

For my second wood burn, I tried out my other pen which has a much larger tip. I quickly realized that it burns much smoother and is easier to handle, but it pretty impossible to use on small details. 

  
Luckily, I was able to use this pen for about 90% of the burn and use the detailing pen for the rest. I decided to make a gift for my cousin’s wife’s baby shower in a few months. They’re having a little boy!

  
Just transferring the image onto the wood is a process and definitely my least favorite part thus far when it comes to wood burning. But once it’s on, I can picture the end result and get excited to start burning. 

  
It didn’t take long for me to notice the difference between pens. This one creates much smoother lines and requires a lot less pressure…my hand thanked me!

  
It’s a little tricky to fill in with this pen, but I made it work. 

  
I got a bit further than this before I had to switch pens, but here’s the final result…

  
It’s not perfect, but I’m happy with how it turned out! Next time I’ll make the words bigger so it’s easier to burn, but I think it will be perfect in his nursery! What do you all think?

X B